Best Ice Packs and Cooler Packing Hacks for Safe Camping Meals
Picture this: it’s the second evening of your camping adventure, and you’re looking forward to a hearty dinner under the stars. But when you open your cooler, the meat is soggy, the cheese has turned soft, and the drinks are lukewarm. This is where ice packs and coolers play a crucial role ensuring your food stays fresh, safe, and ready to enjoy. Nothing can spoil the mood faster than poorly packed or ineffective cooling solutions, but with the right techniques, you can avoid these common pitfalls and elevate your camping experience.
Keeping food fresh on a camping trip is essential, not just for taste but also for safety. Mishandling perishable items can lead to foodborne illnesses a risk no one wants to take in the wilderness. Fortunately, with the right ice packs, proper cooler packing, and some simple hacks, you can ensure that your meals stay as fresh as when you packed them.
This guide will cover everything you need to know about ice packs and coolers: the types of ice packs available, a detailed cooler-packing strategy, tips to maximize freshness, specialized storage advice for different food types, and common pitfalls to avoid. With the right use of ice packs and coolers, you can gear up for a safe, delicious, and stress-free camping trip!
Choosing the Right Ice Packs
Your cooler’s effectiveness hinges on the quality of your ice packs. Whether you’re heading out for a weekend getaway or a week-long expedition, selecting the right type of ice packs is crucial. Here’s an in-depth look at the different options and their best uses:
1. Gel Ice Packs
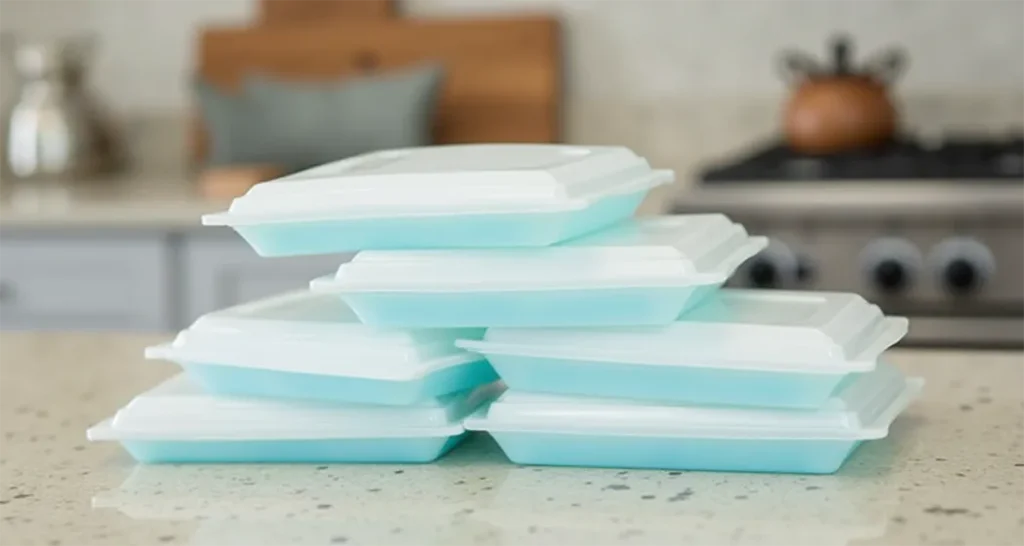
Gel ice packs are a favorite among campers for their convenience and efficiency.
- How They Work: These packs contain a gel material that freezes solid and stays colder longer than regular water.
- Key Advantages:
- Compact and easy to stack.
- Reusable and durable.
- No mess from melting ice.
- Limitations:
- Require access to a freezer beforehand.
- Can be pricey compared to single-use ice alternatives.
- Pro Tip: Look for gel packs with a durable, puncture-resistant shell to avoid leaks over time.
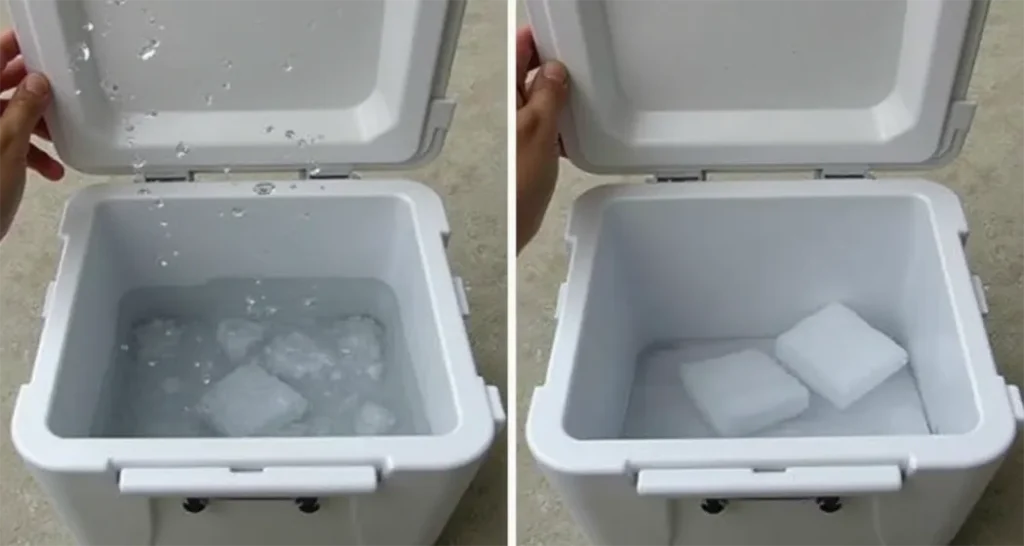
2. Dry Ice
Dry ice is a game-changer for serious campers who need ultra-cold temperatures.
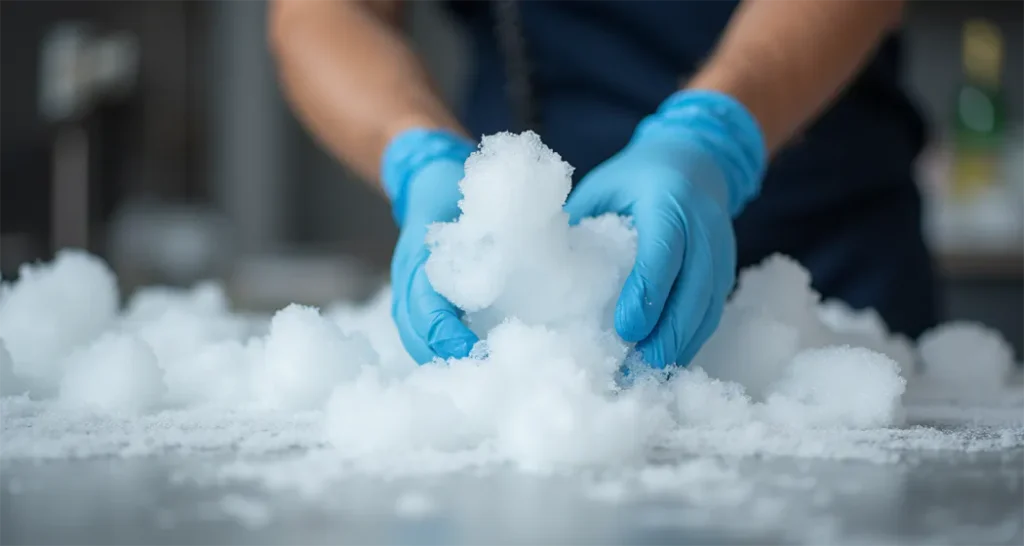
- How It Works: Made from frozen carbon dioxide, dry ice sublimates directly into gas instead of melting into water.
- Key Advantages:
- Can freeze items solid, keeping food fresh for longer periods.
- Leaves no liquid residue behind.
- Limitations:
- Requires careful handling with insulated gloves.
- Not suitable for all coolers, as it can crack non-dry-ice-compatible models.
- Sublimates quickly, especially in poorly insulated coolers.
- Pro Tip: Pair dry ice with regular ice packs to create layers of varying temperatures in your cooler.
3. Frozen Water Bottles
For a cost-effective and dual-purpose solution, frozen water bottles are hard to beat.
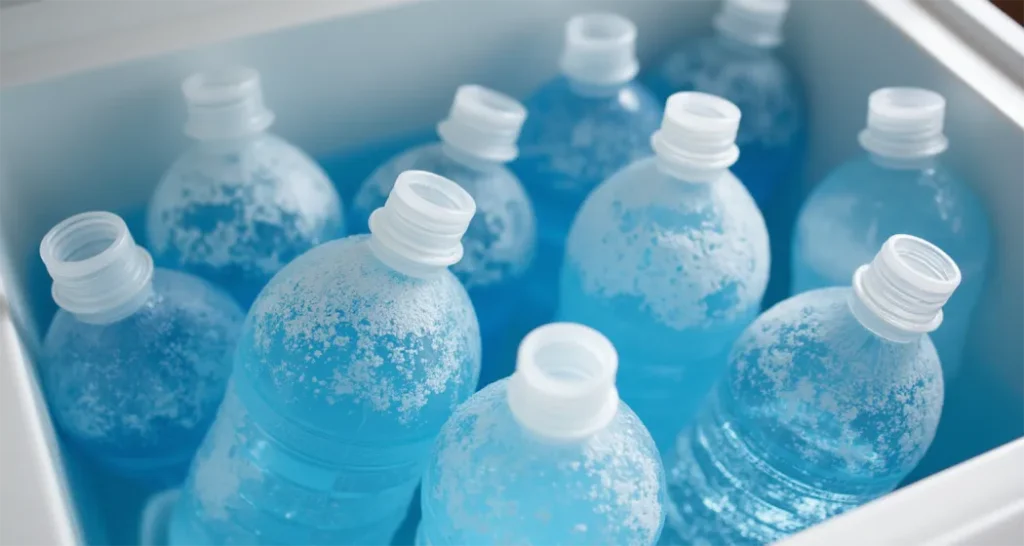
- How They Work: Simply freeze full water bottles and use them as ice packs. As they thaw, you get cold drinking water.
- Key Advantages:
- Affordable and widely accessible.
- Eco-friendly no waste, as you use the water for hydration.
- Limitations:
- Melt faster than gel packs or dry ice.
- Take up more space than specialized ice packs.
- Pro Tip: Use different-sized bottles to fill gaps in your cooler and reduce air space.
4. Reusable Ice Blocks
Reusable ice blocks are ideal for larger coolers and longer trips.
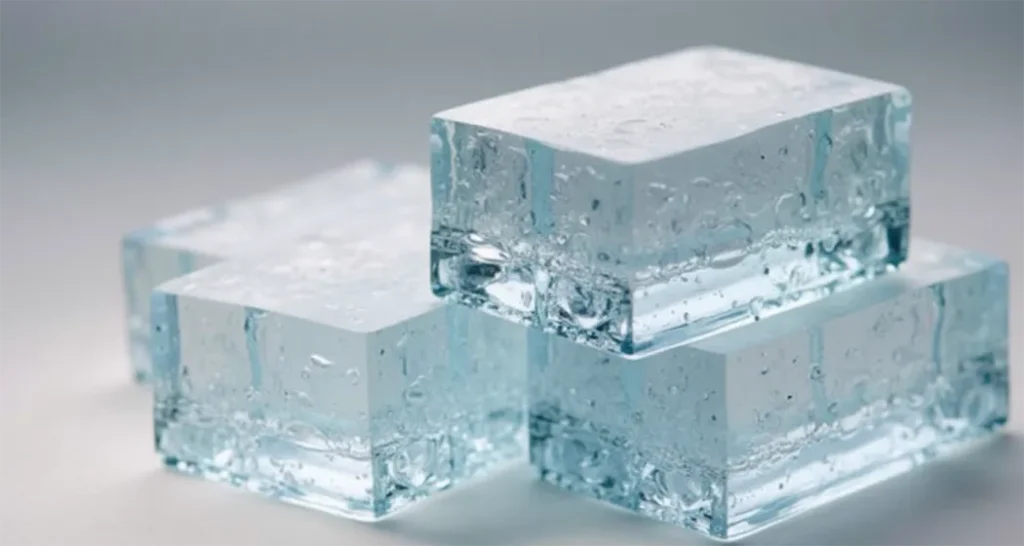
- How They Work: These are solid blocks of ice encased in durable, leak-proof containers.
- Key Advantages:
- Retain cold for extended periods.
- Minimize water mess inside the cooler.
- Limitations:
- Heavier and bulkier than other ice packs.
- Require significant freezer space to prep.
- Pro Tip: Combine ice blocks with gel packs to maintain consistent temperatures throughout the cooler.
Eco-Friendly Options: Consider biodegradable or non-toxic gel packs made from renewable materials to reduce your environmental footprint.
Organizing Your Cooler Like a Pro
A well-organized cooler isn’t just about fitting everything inside it’s about keeping the cold air trapped and maintaining efficiency. Here’s a detailed guide to packing your cooler for optimal performance:
Layer Salads in Jars are perfect for cooler storage when packed upright and sealed tightly
1. Pre-Chill the Cooler
Before you even start packing, pre-chill your cooler. Pre-chilling your cooler is a crucial but frequently skipped step that significantly enhances its efficiency.
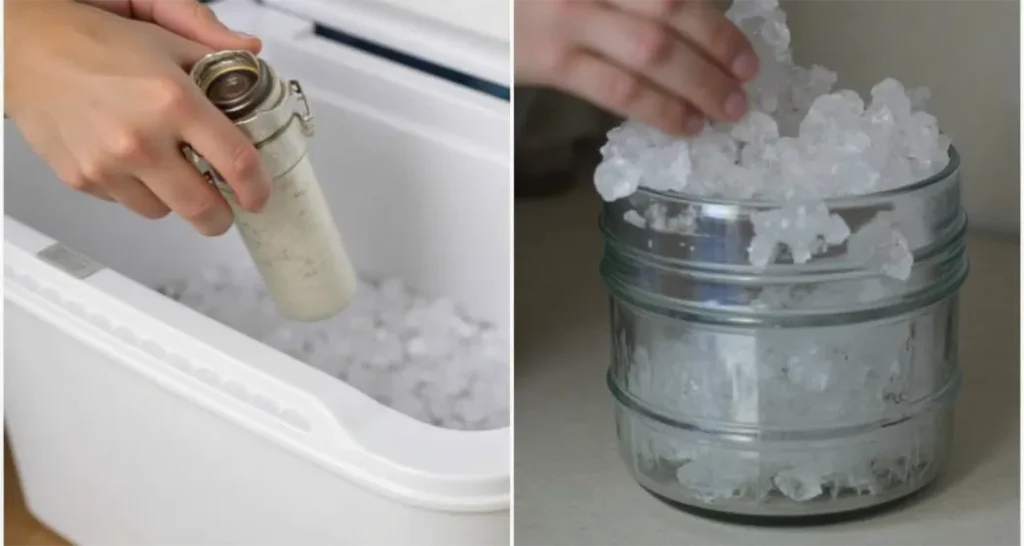
- Place ice packs or a bag of ice in the cooler the night before your trip.
- By lowering the cooler’s internal temperature ahead of time, your ice packs won’t have to work as hard.
2. Layering Strategy
Think of your cooler as a multi-level storage system. Proper layering ensures consistent cooling and easy access.
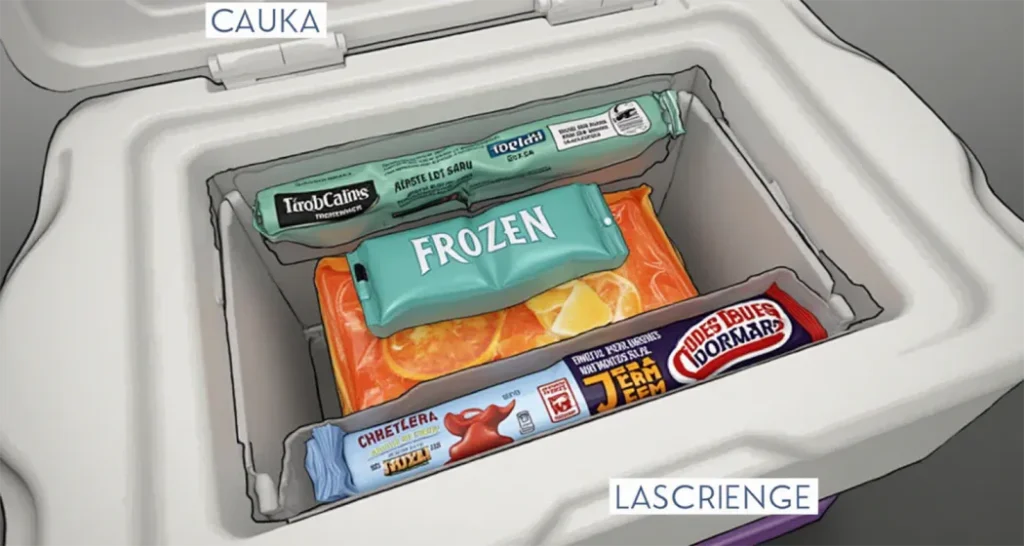
- Bottom Layer: Frozen items. These stay the coldest and act as a secondary source of cooling.
- Middle Layer: Perishables like raw meat, dairy, and eggs. Store these in airtight, leak-proof containers to prevent cross-contamination.
- Top Layer: Non-perishable snacks, condiments, and items you’ll need frequently.
Pro Tip: Add a towel or thin insulating sheet between layers to reduce heat transfer when the cooler is opened.
3. Minimize Air Space
Air is the enemy of cold. Any empty space in your cooler allows warm air to circulate, which speeds up ice melting.
- Fill gaps with smaller ice packs, towels, or even frozen water bottles.
- Use stackable containers to maximize efficiency and reduce wasted space.
Tips for Keeping Camping Meals Fresh with Ice Packs and Coolers
Once your cooler is packed, the goal is to keep it cold as long as possible. These hacks will help you preserve freshness throughout your trip:
For snacks that are perfect for quick access in your cooler, explore Best Camping Snacks and Quick Bites
1. Limit Cooler Access
Every time you open the cooler, warm air rushes in, raising the internal temperature.
- Designate a “drinks-only” cooler for frequent use, keeping your main food cooler sealed.
- Plan meals in advance to reduce rummaging.
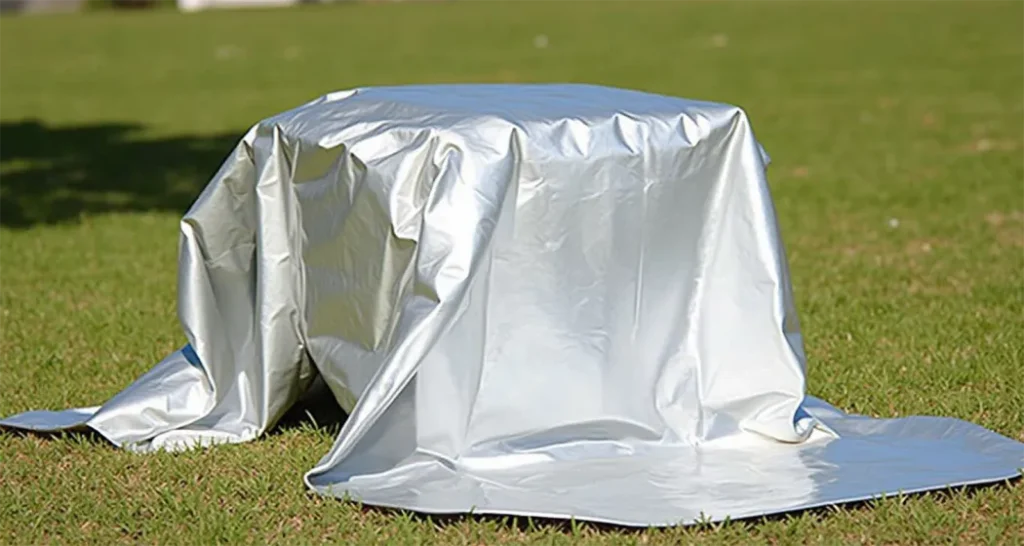
2. Reflective Covers for Extra Insulation
Wrap your cooler in a reflective blanket or cover to shield it from direct sunlight.
3. Drain Melted Ice Strategically
Melted water can help insulate remaining ice, but too much water accelerates overall melting. Monitor the water level and drain periodically.
How to Use Ice Packs and Coolers for Storing Different Camping Foods
Different types of food require tailored packing methods to stay fresh:
To ensure meats and perishables are stored safely during your camping trip, follow expert advice such as the USDA Food Safety Guidelines to minimize the risk of foodborne illness.
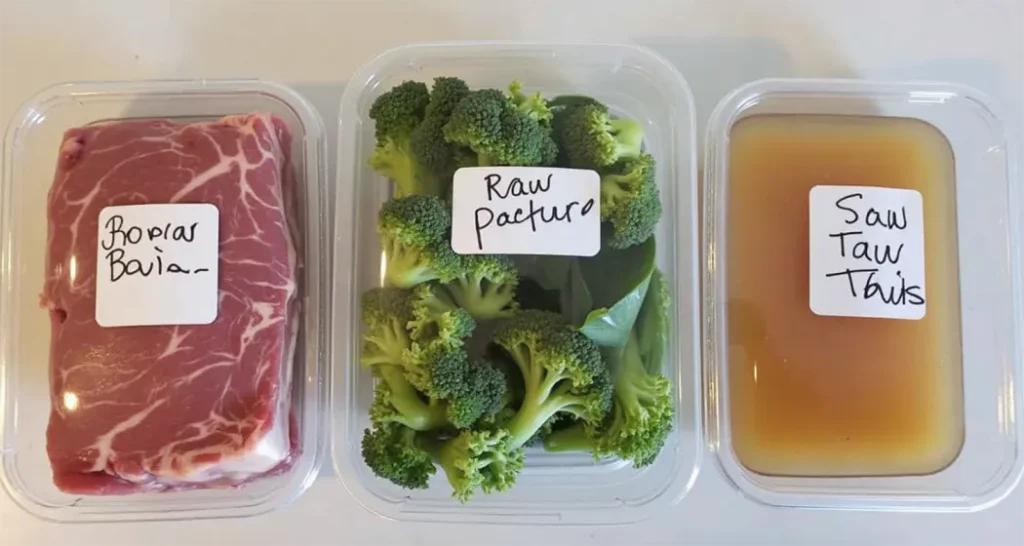
1. Meat and Seafood
- Tip: Freeze raw meat and seafood solid before packing.
- Storage: Double-wrap in plastic or place in sealed bags to prevent leaks.
2. Fresh Produce
- Tip: Opt for sturdy fruits and veggies like apples, carrots, and bell peppers.
- Storage: Wrap in paper towels to absorb excess moisture and prevent bruising.
3. Liquid Items
- Tip: Transfer sauces, marinades, and soups into leak-proof containers with tight lids.
- Storage: Store upright to avoid spills.
Multi-Day Camping Tips: Ice Pack and Cooler Strategies
- Replenish Ice Strategically: Add new ice or ice packs during cooler periods, like evenings.
- Rotate Items: Shift frequently used items to the top and frozen ones back to the bottom.
- Separate Fresh and Melted Ice: Keep new ice away from melted water to maintain its effectiveness.
Common Mistakes to Avoid
- Overpacking the Cooler
Cramming your cooler full restricts airflow, reducing its cooling efficiency. - Using the Wrong Ice Pack
Dry ice for short trips or gel packs for extended trips can make all the difference. - Not Securing Your Cooler
Wildlife-proofing is essential, especially in areas with bears or raccoons.
Avoid overpacking or wasting food by planning ahead with Budget Friendly Camping Meals
FAQs
1. Can I use dry ice in any cooler?
Not all coolers are designed for dry ice. Check the manufacturer’s instructions to avoid damage or safety issues.
2. How long do gel packs last?
Gel packs can stay cold for up to 48 hours, depending on their quality and the cooler’s insulation.
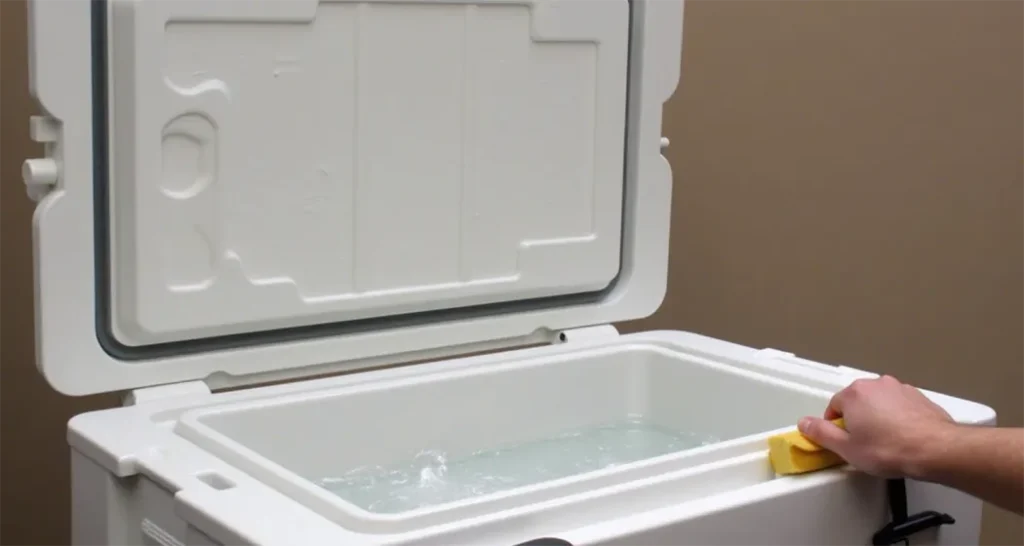
3. What’s the best way to clean a cooler after camping?
Use warm, soapy water and a baking soda rinse to remove odors. Let the cooler air dry completely before storing.
With the right ice packs and coolers, along with an effective packing strategy and careful planning, keeping your food fresh and safe during a camping trip is easier than ever. By following these tips, you’ll make the most of your ice packs and coolers, avoid food spoilage, save time, and elevate your outdoor dining experience.
Looking for more meal ideas to complement your perfectly packed cooler? Don’t miss our 12 Delicious Camping Sandwiches and Wraps
