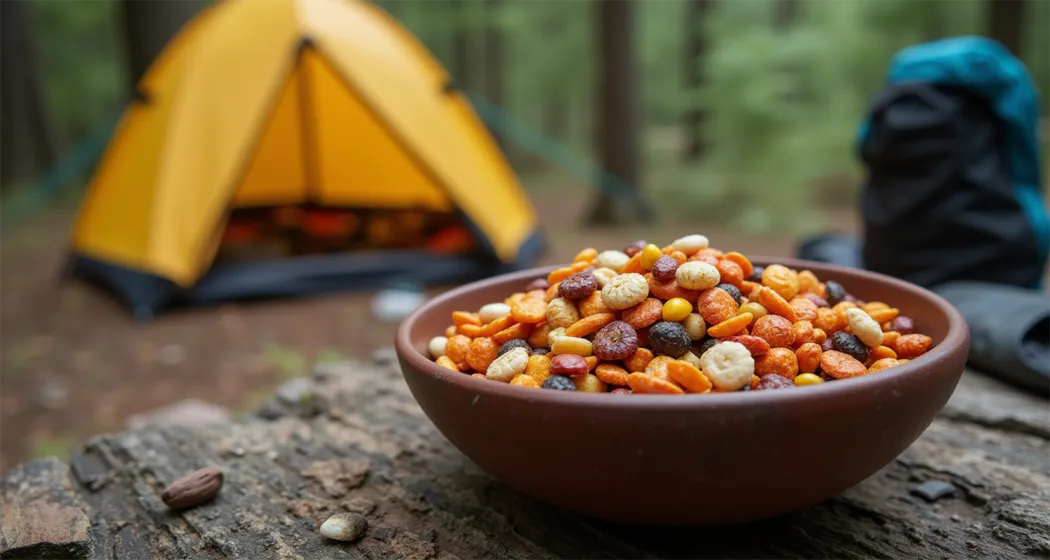
The Ultimate Guide to Crafting Perfect Trail Mix: Nuts, Dried Fruit, and Beyond
Why Trail Mix Is the Perfect Camping Snack
Trail mix is a go-to snack for campers, hikers, and outdoor enthusiasts. Lightweight, non-perishable, and packed with nutrients, it offers a convenient way to stay energized during your adventures. Whether you’re scaling a mountain or enjoying a leisurely campsite picnic, trail mix provides a customizable, satisfying solution for quick, balanced nutrition.
In this guide, you’ll learn how to craft the perfect trail mix tailored to your tastes and dietary needs. From ingredient selection to creative variations and storage tips, we’ll cover everything you need to know to make trail mix an essential part of your outdoor experience.
1. Health Benefits of Trail Mix
Why Trail Mix is Perfect for Outdoor Activities
Trail mix is more than a tasty treat it’s a nutrient-rich powerhouse designed to fuel your adventures. Here’s why it’s an ideal choice for outdoor snacks:
Balanced Nutrition
- Protein and Healthy Fats: Nuts and seeds are rich in unsaturated fats and plant-based proteins, which promote satiety and support muscle repair.
- Natural Sugars: Dried fruits deliver quick energy with a touch of sweetness, while also providing fiber for sustained energy release.
Packed with Essential Nutrients
- Vitamins and Minerals: Ingredients like almonds, raisins, and pumpkin seeds are loaded with vitamins (e.g., vitamin E, magnesium) that boost energy and strengthen the immune system.
Portable and Convenient
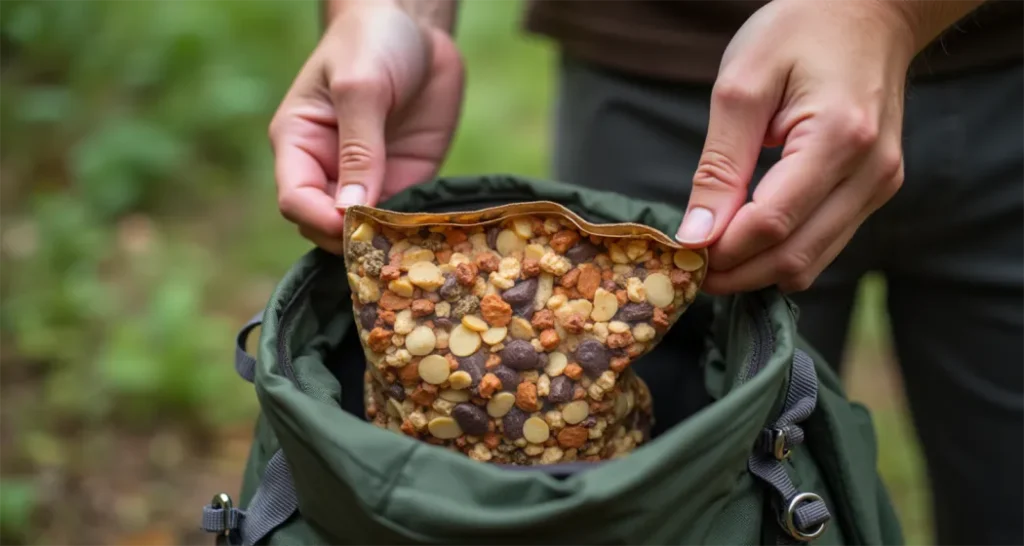
- Lightweight and Compact: Easy to carry, trail mix doesn’t take up much space in your pack.
- Long Shelf Life: It stays fresh for weeks, making it a reliable snack for extended trips.
Enhancing your camping experience with nutritious snacks is essential. For more ideas, check out our article on Easy Camping Meals.
2. Choosing the Right Ingredients for Your Trail Mix
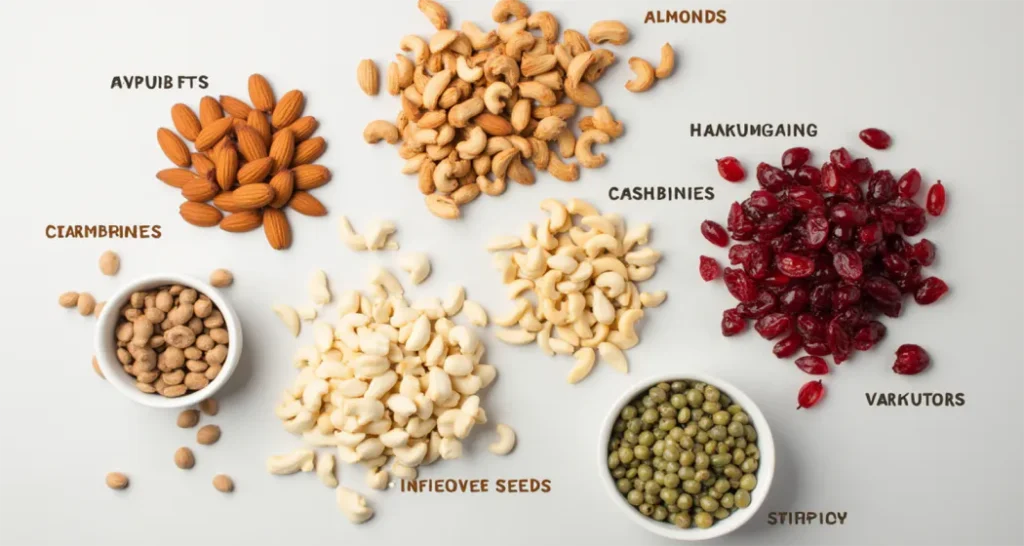
Nuts: The Protein-Packed Base
- Popular Choices: Almonds, walnuts, cashews, and peanuts.
- Nutritional Benefits: Nuts provide protein, fiber, and heart-healthy fats that sustain energy levels.
- Pro Tip: Use unsalted or lightly salted nuts to reduce sodium intake.
Dried Fruits: Sweetness with a Nutritional Punch
- Top Picks: Raisins, cranberries, apricots, mango, and banana chips.
- Nutritional Benefits: High in natural sugars, antioxidants, and fiber.
- Pro Tip: Opt for unsweetened dried fruits to keep sugar content under control.
Seeds: Tiny but Mighty
- Options: Sunflower seeds, pumpkin seeds, and chia seeds.
- Nutritional Benefits: Rich in omega-3 fatty acids, protein, and essential minerals.
- Pro Tip: Toast seeds lightly for added flavor and crunch.
Optional Add-Ins

- Extras: Dark chocolate chips, pretzel pieces, granola clusters, or shredded coconut.
- Flavor Boosters: Try adding cinnamon, chili powder, or a pinch of sea salt for a unique twist.
- Pro Tip: Limit sweet extras to 10% of your mix to keep it balanced.
Ingredient Ratios
- Suggested Proportions:
- 40% Nuts
- 30% Dried Fruits
- 20% Seeds
- 10% Optional Add-Ins
Quick Tip: Adjust ratios based on your preferences for sweetness, saltiness, or crunch.
3. How to Make Trail Mix: Step-by-Step Guide
Creating your own trail mix is not only simple and fun but also allows you to tailor the mix to your specific tastes and nutritional needs. Here’s a detailed guide to crafting a delicious and perfectly balanced trail mix.
Step 1: Choose and Prepare Ingredients
The foundation of a great trail mix starts with high-quality ingredients. Follow these tips to select and prepare them effectively:

Select Fresh, Quality Ingredients
- Check the expiration dates on packaged nuts, seeds, and dried fruits to ensure freshness.
- Inspect bulk-bin items for signs of spoilage, such as rancid smells or visible mold.
Chop Larger Ingredients
- Cut dried apricots, mango, or other large fruits into bite-sized pieces to ensure even distribution in the mix.
- Use a sharp knife or kitchen scissors for precision and speed.
Optional Roasting for Extra Flavor
- Lightly toast nuts and seeds in the oven at 350°F (175°C) for 5-10 minutes to enhance their flavor.
- Allow roasted items to cool completely before mixing to prevent the other ingredients from wilting or melting.
Keep It Simple
- If you’re new to making trail mix, start with a small batch to experiment with flavors and textures.
Step 2: Measure and Combine
Proper measurement ensures your mix has a harmonious blend of flavors and nutrients.
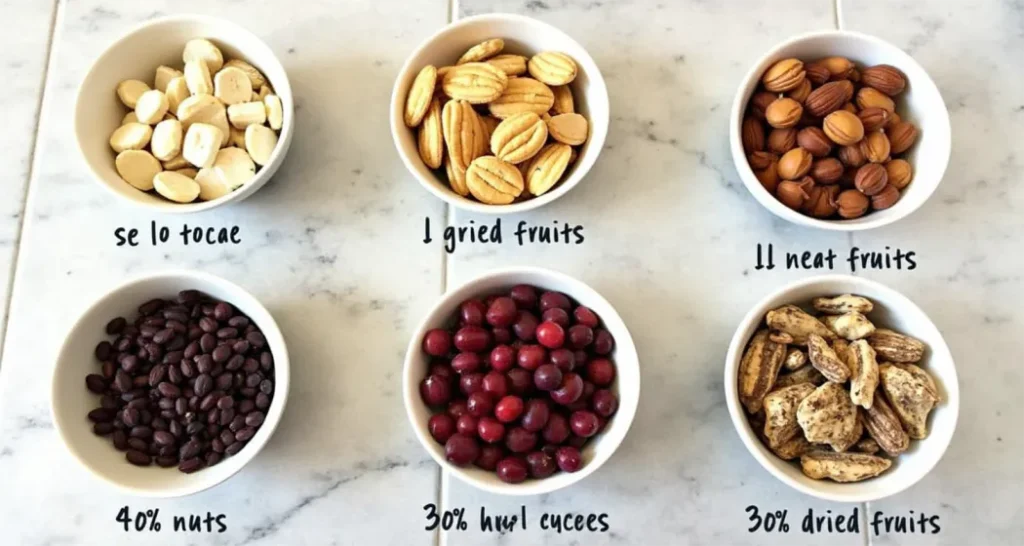
Stick to Recommended Ratios
Use these ratios as a guideline for a balanced mix:
- 40% Nuts: Almonds, cashews, peanuts, or walnuts.
- 30% Dried Fruits: Raisins, cranberries, dried mango, or apricots.
- 20% Seeds and Add-Ins: Sunflower seeds, pumpkin seeds, granola, or coconut flakes.
- 10% Extras: Dark chocolate chips, pretzel pieces, or spices.
Customize to Taste
- Love crunchy textures? Add more nuts and seeds.
- Prefer a sweeter mix? Increase the dried fruit or sprinkle in yogurt-covered raisins.
Combine Ingredients
- Add all measured ingredients to a large mixing bowl.
- Use a wooden spoon or your hands (with gloves) to gently toss the mix, ensuring even distribution.
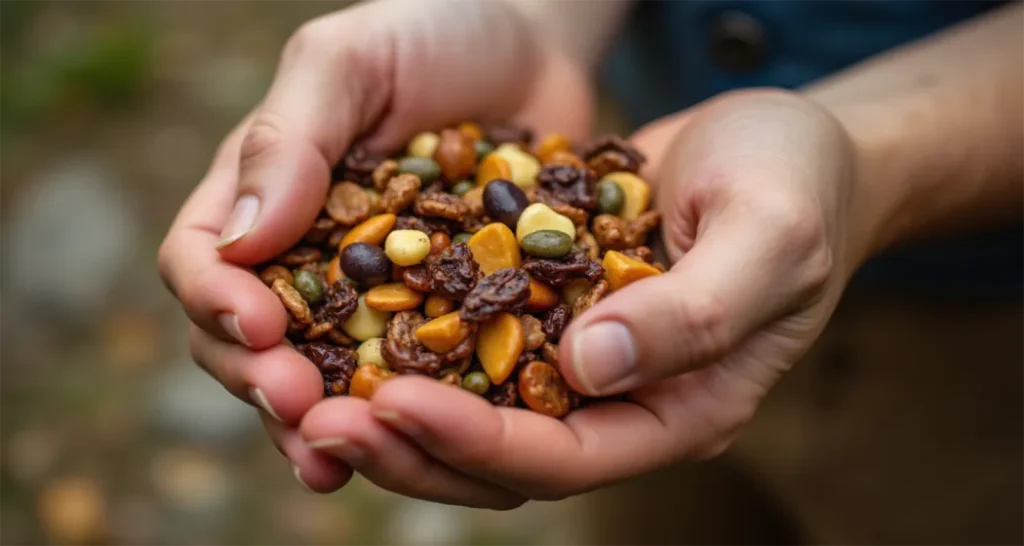
Step 3: Taste-Test
Sampling your mix is essential to achieving the perfect balance of flavors.
Adjust as Needed
- Too Sweet? Add more nuts or seeds to offset the sweetness.
- Too Bland? Sprinkle a pinch of sea salt or cinnamon for a flavor boost.
- Lacking Texture? Include crunchy elements like pretzel sticks or roasted chickpeas.
Take Notes
- Jot down your adjustments so you can replicate your perfect mix in the future.
Step 4: Package for Storage
Proper storage keeps your trail mix fresh and ready to grab when you’re on the go.
Portion into Servings
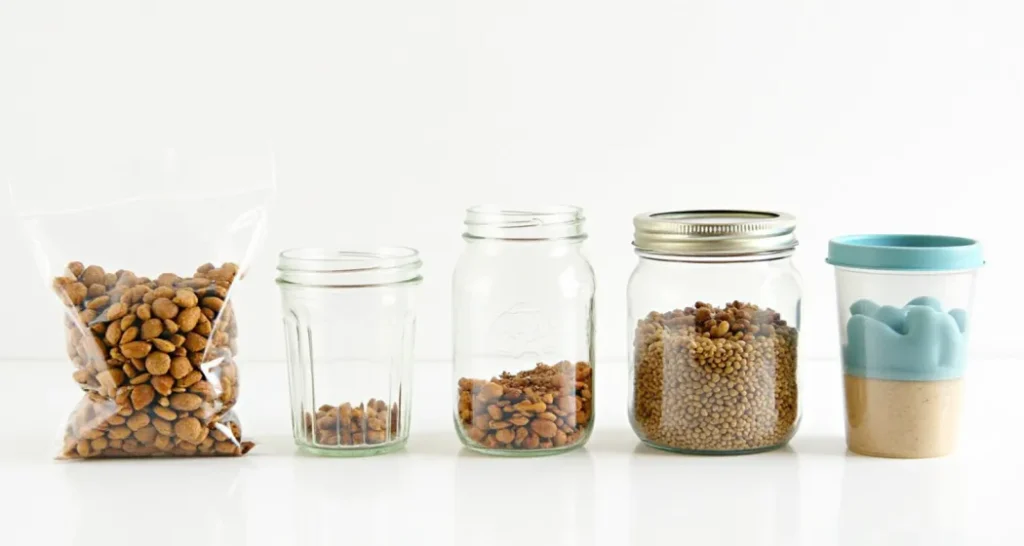
- Divide the mix into individual servings (1/4 to 1/2 cup per portion) using resealable bags, mason jars, or silicone pouches.
- Dividing your trail mix into individual portions helps with portion control and makes it easy to carry wherever you go.
Label and Date
- Use a marker or label to note the preparation date and any unique mix variations.
- This is especially helpful if you make different types of trail mix for various activities (e.g., energy-boosting mix for hikes or kid-friendly mix for school snacks).
Choose the Right Containers
- For Day Hikes: Lightweight, resealable plastic bags or silicone pouches are ideal.
- For Home Storage: Glass jars or airtight containers keep the mix fresh and prevent exposure to moisture.
Pro Tips for Long-Lasting Freshness
- Avoid Perishable Items: Skip fresh fruits or moisture-rich ingredients, as they can spoil quickly and reduce the mix’s shelf life.
- Store in a Cool, Dry Place: Keep trail mix in a pantry or cupboard away from direct sunlight and heat.
- Extend Shelf Life: Refrigerate or freeze your trail mix if it contains chocolate or other melt-prone ingredients.
4. Creative Trail Mix Recipes to Try
Energy-Boosting Mix
- Ingredients: Almonds, walnuts, pumpkin seeds, dried cherries, dark chocolate chips.
- Perfect For: Long hikes or endurance activities.
Tropical Trail Mix
- Ingredients: Cashews, macadamia nuts, dried mango, pineapple, coconut flakes.
- Perfect For: Adding a sweet, tropical flavor to your snack.
Kid-Friendly Mix
- Ingredients: Peanuts, mini marshmallows, pretzel pieces, chocolate candies, dried apples.
- Perfect For: Fun and colorful snacks kids will love.
Savory Trail Mix
- Ingredients: Roasted chickpeas, smoked almonds, sesame sticks, paprika, garlic powder.
- Perfect For: Those who prefer savory over sweet.
5. Storing Trail Mix for Freshness
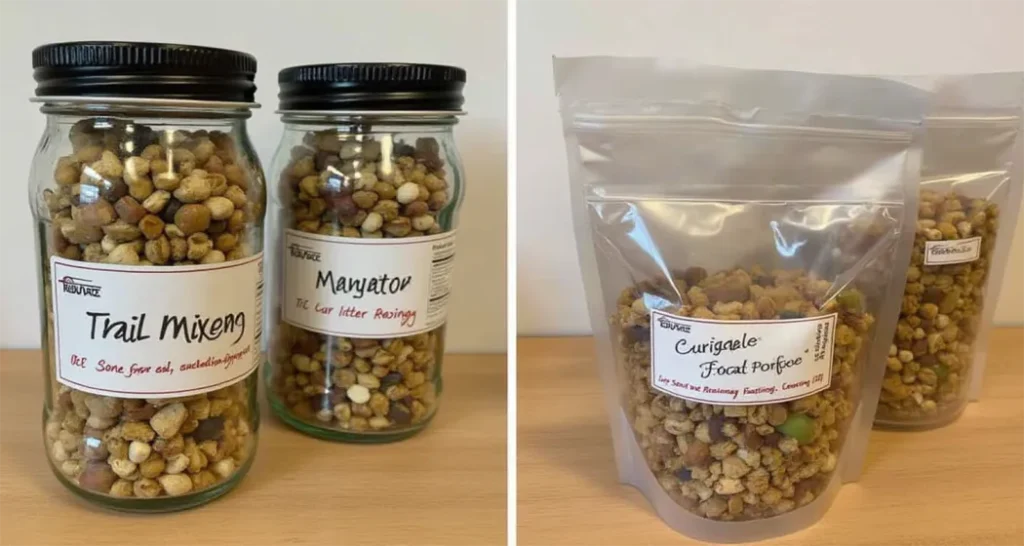
Storing your trail mix correctly ensures it stays flavorful and maintains its freshness for longer. Follow these tips to preserve quality:
Use Airtight Containers
- Resealable bags, glass jars, or silicone pouches work best to lock in freshness and keep moisture out.
Store in a Cool, Dry Place
- Homemade trail mix lasts 1-2 months at room temperature.
- Keeping your trail mix refrigerated can help it last longer, particularly if you’re storing it in a hot or humid environment.
Pre-Portion Servings
- Avoid opening the main container repeatedly by dividing the mix into individual portions.
Pro Tip: For camping trips, store your trail mix in an insulated container to prevent heat damage.
6. Avoid These Common Trail Mix Mistakes
Adding Too Much Sugar
- Mistake: Overloading with chocolate or sweetened dried fruits.
- Fix: Stick to unsweetened or naturally sweet options and limit sugary extras.
Using Fresh Fruits
- Mistake: Including perishable items like fresh apples or grapes.
- Fix: Always opt for dried, shelf-stable ingredients.
Imbalanced Ratios
- Mistake: Too much of one ingredient can overwhelm the flavor.
- Fix: Follow the recommended ingredient proportions for a balanced mix.
Ignoring Portion Control
- Mistake: Eating directly from the container leads to overconsumption.
- Fix: Pre-portion servings to avoid overeating.
7. Frequently Asked Questions
How Much Trail Mix Should I Eat?
A typical serving is about 1/4 cup, which provides a good balance of nutrients and energy.
Can I Make Nut-Free Trail Mix?
Yes! Replace nuts with seeds, roasted chickpeas, or crunchy grains for a nut-free version.
What’s the Best Way to Store Trail Mix While Hiking?
Use lightweight, resealable bags for easy access and portion control.
Make Trail Mix Your Perfect Adventure Snack
Trail mix is versatile, customizable, and packed with nutrients to fuel your adventures. By following this guide, you can create a personalized mix that’s perfect for hiking, camping, or everyday snacking.
Ready to mix it up? Share your favorite trail mix recipes or variations in the comments below. Don’t forget to explore our related articles for more outdoor snack ideas!
